There are three ways to access the portal.
- You receive an invitation via email with a link to the portal website, which may contain your Username and password.
- You gain access to the portal via a preparer's website, or
- Go to https://www.ftwilliam.com/cgi-bin/WebPortal/WebPortal.cgi
You will need your username and password to log in. This must be provided to you by your plan administrator.
The password will contain at least 8 character consisting of numbers, letters, and special characters.  If you check Save Password, your password will be stored in your browser for the next time you log in. The browser will not store this password securely, so this option is not recommended on public or shared computers.
- Click "Forgot Password" at the bottom of the login screen.
- Enter your account information and answer your security questions.

If you haven’t set up security questions or don’t remember your answers, please contact your plan administrator for help resetting your password.
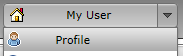
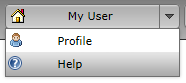
To change your password, go to the Profile page by clicking the down arrow next to the username button and clicking Profile in the popup menu.
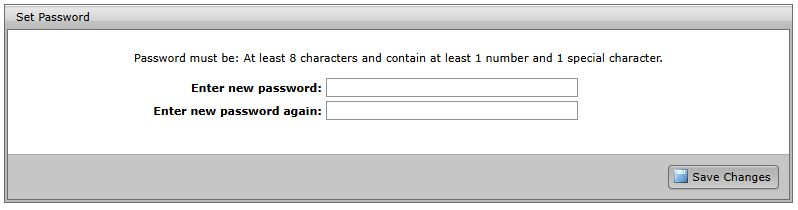
Next, enter a new password in the Set Password box and click the Save Changes button in that box to save.
The new password must meet the following criteria:
- Be at least 8 characters
- Contain at least 1 number
- Contain at least 1 special character

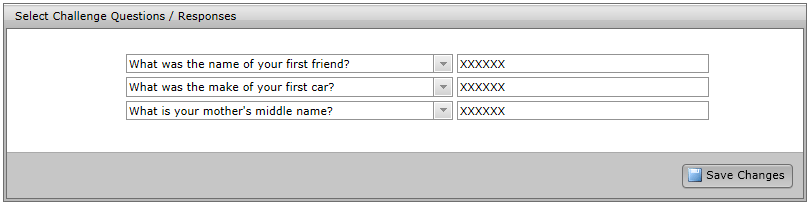
- To change your password, go to the Profile page by clicking the down arrow next to the username button and clicking 'Profile' in the popup menu.

- Next, select or enter your challenge questions and enter your responses in the 'Select Challenge Questions / Responses' box. You can type your own challenge questions into this box, but you must three unique challenge questions with answers. Click the 'Save Changes' button in that box to save your changes.


- To change your password, go to the Profile page by clicking the down arrow next to the username button and clicking 'Profile' in the popup menu.
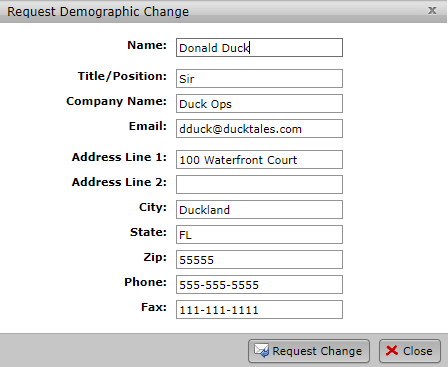
- Next, click the 'Request Change' button in the 'Demographic Information' box.
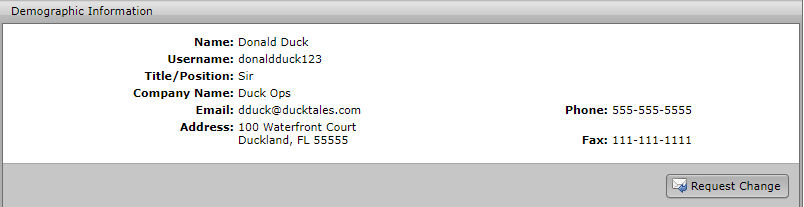
- Edit your demographic information and click the 'Request Change' button. This will submit a request to have your demographics updated.


- You can get to the Help page after logging in by clicking the down arrow next to the username button and clicking 'Help' in the popup menu.
- In the help window, you can search for the answer to your question by typing it into the dropdown box at the top of the page. This will list all questions with the word or phrase you typed.
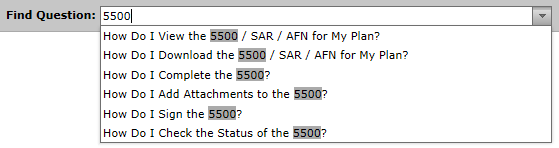
- Click on the question you are looking for to be taken to that question in the list.
- You can also see a printable version of this list by clicking the 'Print' button in the upper right corner.


- If this is your first time viewing the document, you may view the document by clicking the appropriate 'Print and Review' link in your ToDo list. Otherwise, continue following the instructions below.

- If you have access to more than one plan, you must first select the plan from the plan dropdown at the top or the plan boxes listed on the left side of the page.

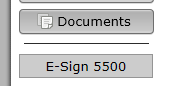
- Click the 'Documents' button on the left side of the page.

- Expand the 5500 Documents folder.

- Click on the document in the folder that you wish to view. For example, clicking on '5500 - 2011' will give you the 5500 for the plan year 2011.


- You can sign the 5500 by either clicking the 'Print and Sign' item in your ToDo list for the plan you wish to sign.

- Or by clicking the 'E-Sign 5500' link / button on the left side of the page. If you have more than one plan, you may need to select your plan from the plan dropdown at the top of the page before clicking the edit link.
- To complete the signing process, you must first click the 'Print 5500' button before you will be allowed to enter your User ID and PIN to sign the filing. There are also instructions to sign the paper version of the filing with a wet signature and save the PDF to your hard drive.
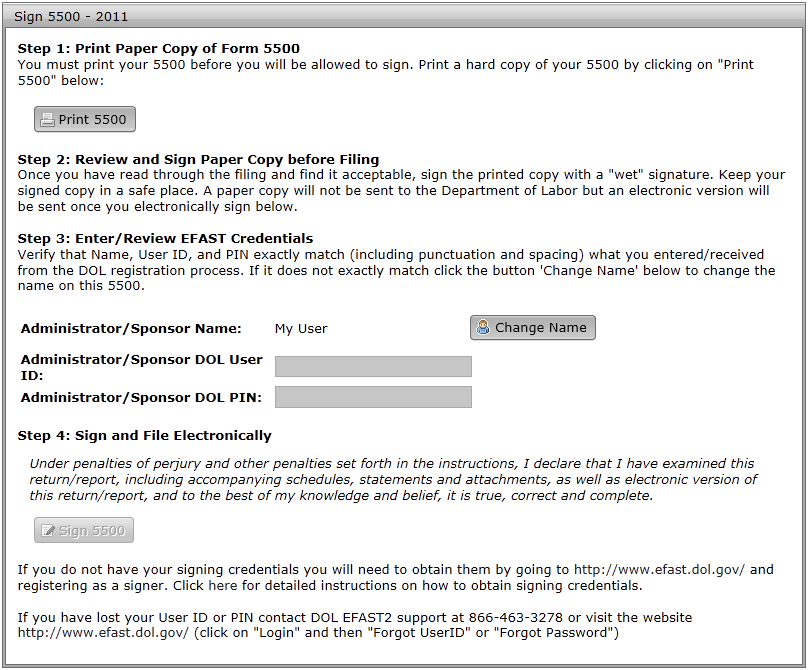
- Your name, User ID, and PIN must exactly match what you entered / received from the DOL registration process. If your name does not match, you may change it by clicking the 'Change Name' button. Doing so will require that you reprint the 5500 by clicking the 'Print 5500' button.
- When ready to file, click the 'Sign 5500' button. After signing, you will be shown the 5500 status page.


- See How Do I Sign the 5500? to see how access the 5500 signing page and start the signing process.
- When you reach step 3 of the signing process, click the 'Use prior year ID and PIN' link above the user ID field.
- Note that the option to use a prior year's user ID and PIN will only be available if there is a prior year accepted filing and the same signer name is used to sign the 5500 for the current / next year.
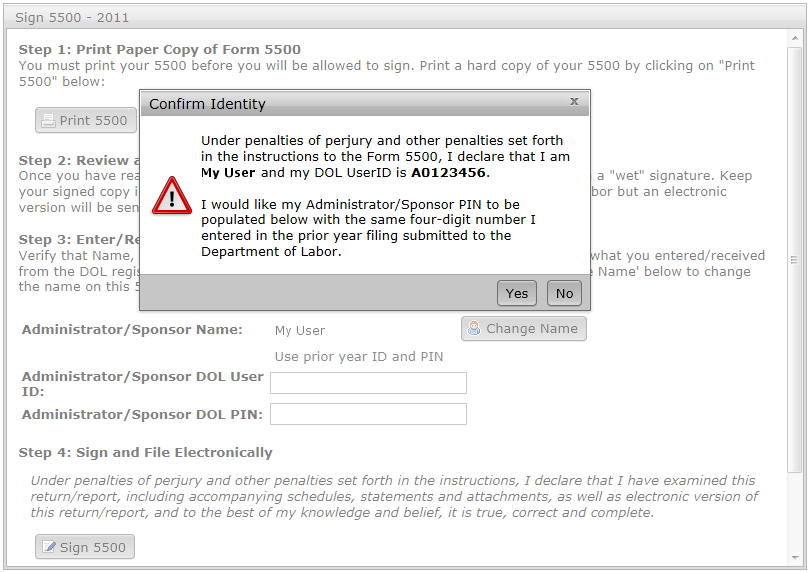
- You will see an Identity Confirmation box. Click the Yes button to verify that you are the identified signer.
- When ready to file, click the 'Sign 5500' button. After signing, you will be shown the 5500 status page.

- Once the 5500 has been filed, you may see the status of the filing.
- If you have access to more than one plan, you must first select the plan from the plan dropdown at the top or the plan boxes listed on the left side of the page.
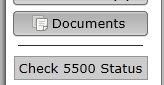
- Next, click the 'Check 5500 Status' link / button on the left side of the page.
- You will then see a filing like the one shown below.
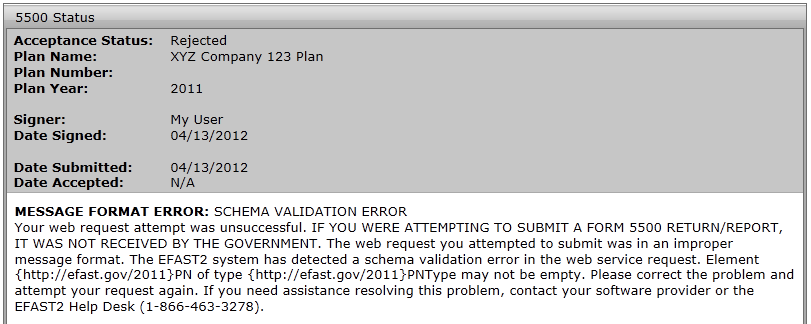
- The following are statuses you may see in your filing.
- Not Submitted: Your filing has not yet been signed/submitted. Once signed, the filing status could be changed to 'Submitted', as all filings are automatically submitted once the proper e-signatures have been obtained
- Submitted: Your filing has been submitted to the DOL, but it has not been accepted yet. Next to a 'Submitted' status you'll be given an option to 'Check Acceptance', which you can click in order to check the status of your plan.
- Accepted: The DOL has accepted the filing.
- Not Accepted: The DOL has not accepted the filing due to the plan not meeting the DOL required edit checks. The software should provide you with a list of the DOL errors. (These errors are also included in the edit checks on the preparation system. So, if your plan has no errors before filing, your filing should be accepted.) The filing is still considered filed but you will likely need to amend the filing.
- Rejected: If certain fields are missing, your filing will be rejected. The fields are: plan year end/begin dates, EIN, plan number, and plan name. You will not have the option to amend the filing since it was never filed according to the DOL. Your plan administrator will need to unlock, modify, and allow you to resubmit the plan to the DOL.


- You can edit the 5500 by either clicking the 'Fill in selected fields' item in your ToDo list for the plan you wish to complete.

- Or by clicking the 'Edit 5500' link / button on the left side of the page. If you have more than one plan, you may need to select your plan from the plan dropdown at the top of the page before clicking the edit link.

- Fill out the colored fields on the edit form. Changes made on this form are saved automatically. You may view the help materials for a question by clicking the blue question mark button next to the question. You may only edit the questions / fields that were selected by your plan administrator.
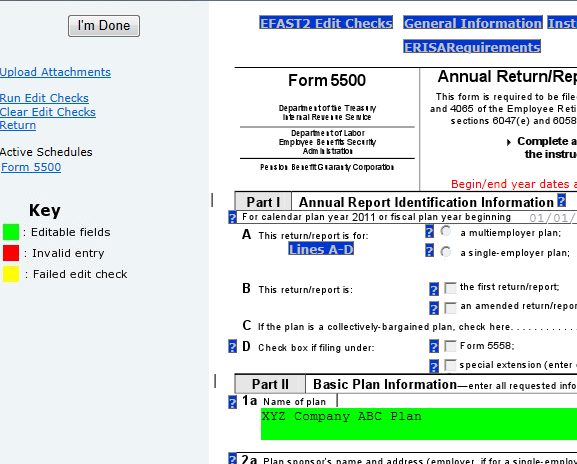
- While editing the 5500, you may click the 'Run Edit Checks' link at the top left of the page. This will visually show you the edit checks by highlighting the fields where there are errors or warnings. Errors are coded yellow for a failed edit check and red for an invalid entry. You can double-click on any highlighted field for more information on the edit check and close the window that appears by clicking on "close".
You can also clear the edit check highlighting by clicking the "Clear Edit Checks" link under the "Run Edit Checks" link at the top left of the page.
Note: The purpose of the edit checks is to look for missing and / or inconsistent data. The edit checks do NOT check the accuracy, correctness, or completeness of every response. - When you have completed editing the 5500, click the "I'm Done" button in the upper left corner.
- This will bring you to the confirmation form. Click the "Confirm 'I'm Done'" button to confirm that you are done editing the 5500.
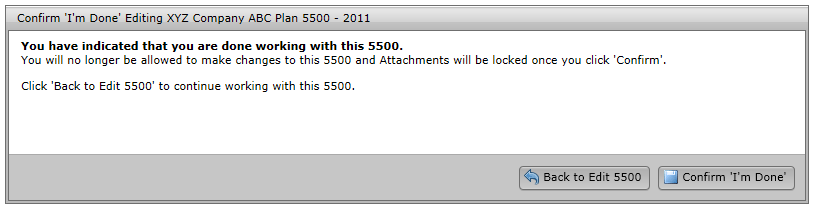
- Depending on your permissions, you may be able to sign the 5500 immediately once you are done editing.


- Start editing the 5500 as outlined in How do I Complete the 5500?.
- Click the 'Upload Attachments' link under the "I'm Done" button in the upper left corner of the page.
- To upload an attachment, select the attachment type, select your attachment file by clicking the 'Browse...' button, optionally fill in an attachment name, and click the 'Add Attachment' button to upload.
There are limits to the size of a filing that will be accepted by the DOL. In general, scanned attachments should be saved as black and white images. Resolutions of as low as 100 x 100 will typically produce an acceptable image. A resolution of 300 x 300 creates files of approximately 1 MB per page in size. There should not be any filings that need to undergo exception processing due to EFAST2 limitations if attachments are scanned at 300 x 300 or lower resolution.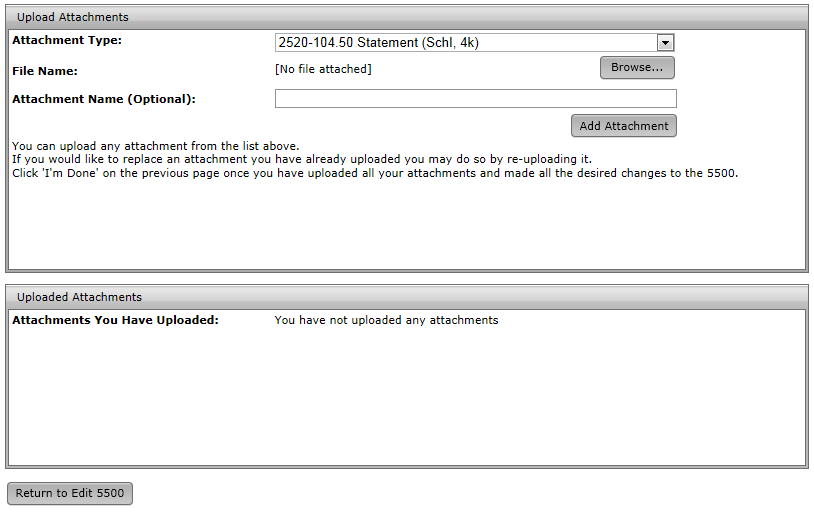
- Once an attachment has been added, it will be listed in the 'Uploaded Attachments' box.
- When done, click the 'Return to Edit 5500' button at the bottom of the page to complete the 5500.

- If the message you are looking for is one you have not viewed yet, it will show up in your 'Unread Messages' list on the right side of your home page.
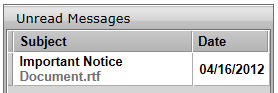
- If the message has not been viewed yet and your plan administrator has added it to your ToDo list, you may also access the message by clicking on it in your ToDo list.

- You can also access all the messages you have received by clicking on the Inbox button in the top left side of the page.
- To view a message in the Inbox, click on the message in the list on the top half of the page.
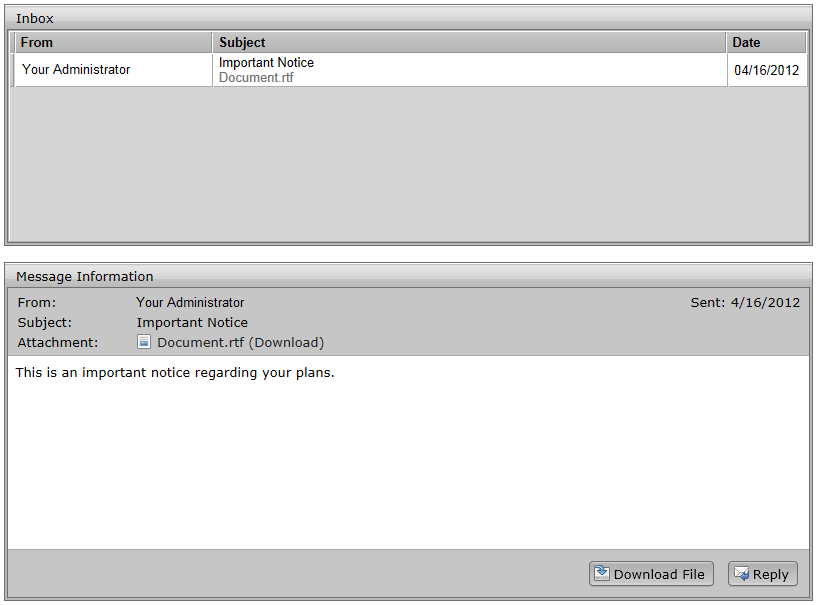
- After selecting a message, you will see its contents in the lower half the page. Here you can also download any attachments by clicking on the filename in the attachment list or by clicking the 'Download File' button at the bottom. You can also reply to this message by clicking the 'Reply' button.


- If you wish to reply to an existing message, click the 'Reply' button in the 'Message Information' pane as described in How Do I View a Message I Received?.
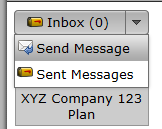
- If you wish to start a new message, you can do so by clicking on the 'Send Message' menu option accessed by clicking the down arrow on the Inbox or the username button. You can also send a message by clicking the 'Send Message' button, which is visible while viewing the Inbox or Sent Messages boxes.
- In the 'Send Message' window, fill out your subject and add a message by typing text into the box in the middle. You may also add attachments by clicking the 'Add Attachment' button and selecting the file you wish to attach.
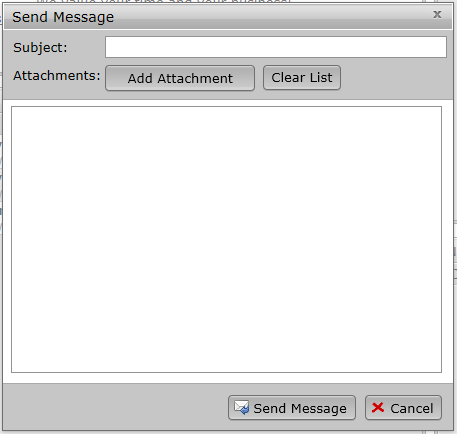
- Click the 'Send Message' button at the bottom when you're ready to send your message.


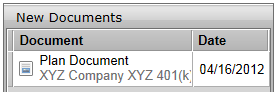
- If the document you are looking for is one you have not viewed yet, it will show up in your 'New Documents' list on the right side of your home or plan page.
- If the document has not been viewed yet and your plan administrator has added it to your ToDo list, you may also access the document by clicking on it in your ToDo list.

- You can also access all the uploaded documents for a plan by selecting a plan from the dropdown at the top of the page and clicking the 'Documents' button on the left side of the page.
- To view a document in a plan's documents list, click on the document in the list on the top half of the page.
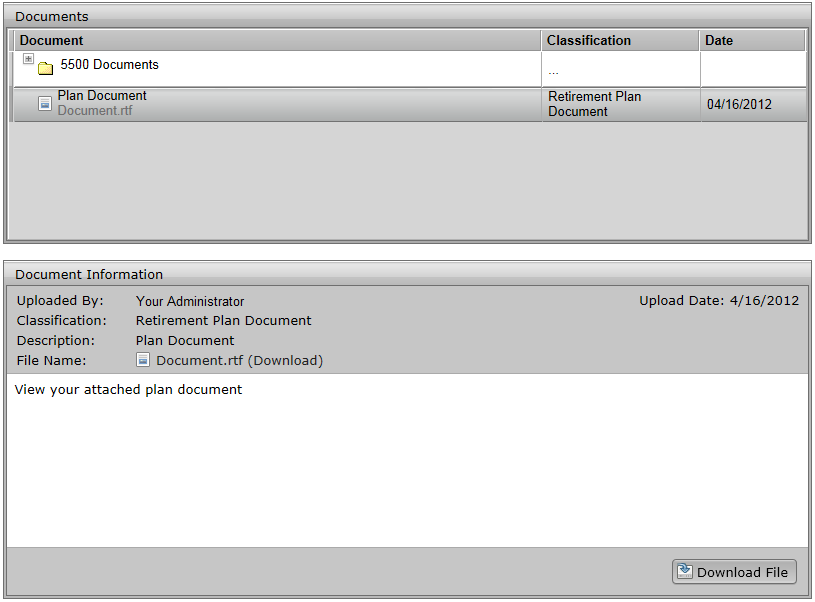
- After selecting a document, you will see its contents in the lower half of the page. Here you can also download that document's files by clicking on the filename in the attachment list or by clicking the 'Download File' button at the bottom.


- If you have a plan document to sign, it will show up in your ToDo list as 'Sign Plan Document'. You can also access the plan document e-signing page by selecting your plan and clicking the 'Sign Document' link / button on the left side of the page.
- On the 'Sign Plan Document' page, you must first click the 'Print Plan Document' button.
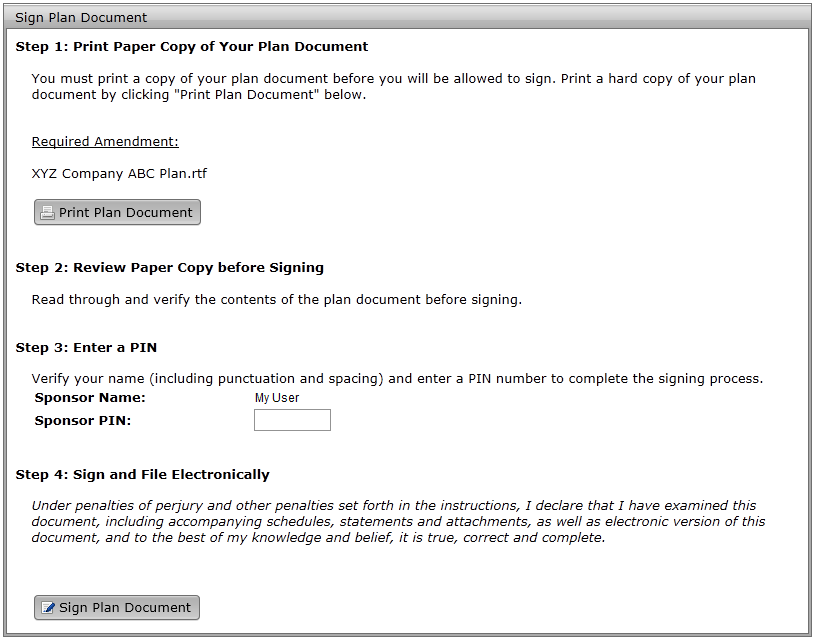
- After reviewing the document, enter your PIN in the space provided and click the 'Sign Plan Document' button.


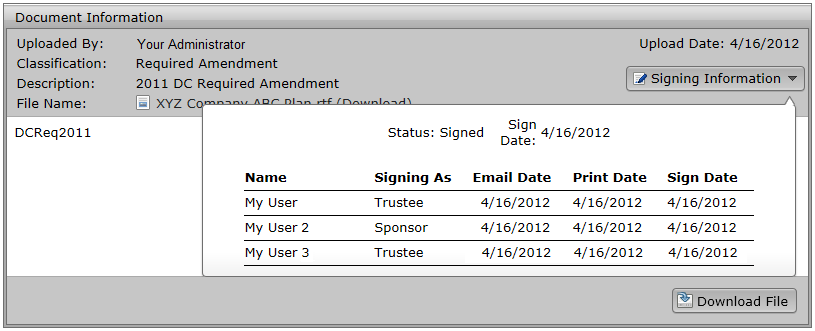
- After a document has been signed, it will be added to the document list for that plan. See How Do I View a Document? for instructions on how to find the document.
- After selecting the document, click the 'Signing Information' button to see a list of who signed the document.

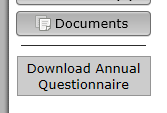
- If you have access to more than one plan, you must first select the plan from the plan dropdown at the top or the plan boxes listed on the left side of the page.

- Click the 'Download Annual Questionnaire' link / button on the left side to download the annual questionnaire document.


- To upload the Annual Questionnaire, you can either select the option from your ToDo list.
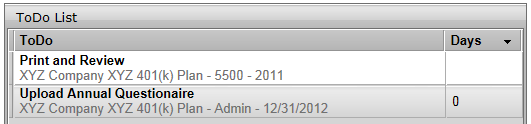
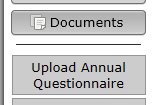
- Or by selecting your plan and clicking the 'Upload Annual Questionnaire' link / button on the left side of the page.
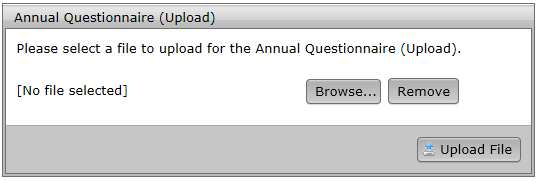
- Click the 'Browse...' button to select your file and then click the 'Upload File' button to upload your annual questionnaire.


- If you have access to more than one plan, you must first select the plan from the plan dropdown at the top or the plan boxes listed on the left side of the page.

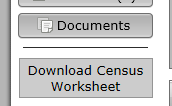
- Click the 'Download Census Worksheet' link / button on the left side to download the census worksheet document.


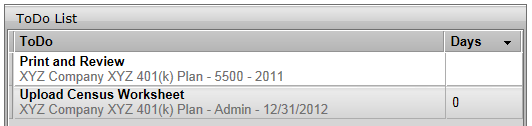
- To upload the Census Worksheet, you can either select the option from your ToDo list.
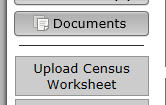
- Or by selecting your plan and clicking the 'Upload Census Worksheet' link / button on the left side of the page.
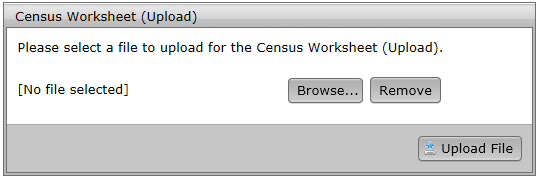
- Click the 'Browse...' button to select your file and then click the 'Upload File' button to upload your census worksheet.


- To complete the Online Annual Questionnaire, you can either select the option from your ToDo list.

- Or by selecting your plan and clicking the 'Online Annual Questionnaire' link / button on the left side of the page.

- If your plan administrator allows it, you may upload a file in response to the online annual questionnaire by clicking the 'Browse...' button to select your file and then the 'Upload File' button to upload the file. When completing the online annual questionnaire by uploading a file, anything you have entered in any of the fields in the online annual questionnaire will not be included in your response.

- Otherwise, complete the questionnaire by filling in the appropriate data in each of the text fields.
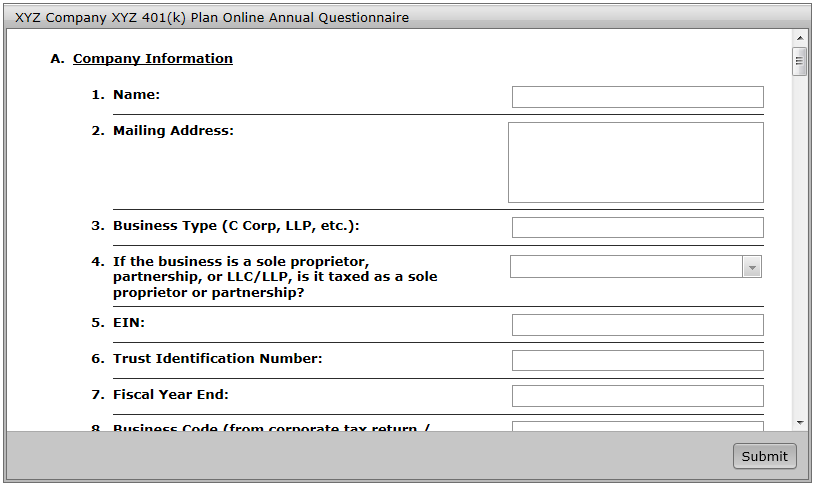
- Your answers are saved as you enter them in the questionnaire.
- After answering all the questions, complete the questionnaire by clicking the submit button at the bottom


- If you have not completed the Online Annual Questionnaire yet, you can select the option from your ToDo list.
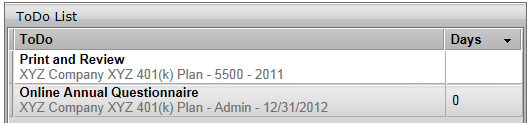
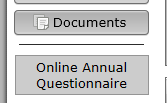
- Otherwise, you can get to the Online Annual Questionnaire by selecting your plan and clicking the 'Online Annual Questionnaire' link / button on the left side of the page.
- If you have not completed the Online Annual Questionnaire yet, you can download a blank version of the online annual questionnaire to fill out by clicking the 'Download / Print' button at the top of the page.

- If you have already completed the Online Annual Questionnaire, the questionnaire can only be accessed by selecting your plan and clicking the 'Online Annual Questionnaire' link / button on the left side of the page.
After clicking the link, you can download a copy of the online annual questionnaire with your answers included by clicking the 'Download / Print' button at the bottom of the page.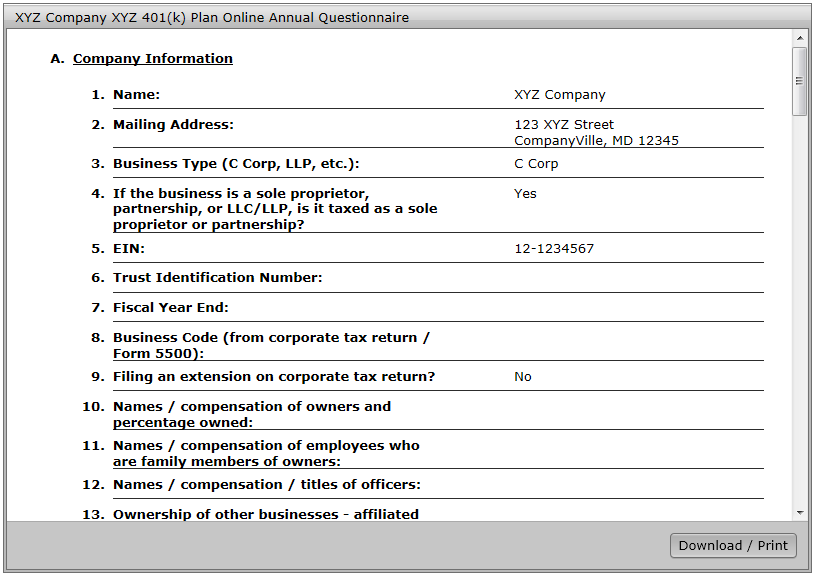


Tasks which require you to submit form information, complete an e-filing, or upload data such as the Online Questionnaire or Census may require you to mark a task as complete. Tasks such as reading a message from your plan administrator, or downloading a document uploaded to the Portal may not be automatically completed based on settings by your plan administrator. You may also receive reminder emails to complete the task until the task has been marked as closed
To close tasks, you can click your username in the top right corner, then select the tasks form the ToDo list, then click 'Mark Tasks as Completed'.
Or, as you complete a task which does not automatically complete, you will see an option to mark the task as complete at the bottom of the screen. Select this option before completing the task to mark it as complete
