Uploading Payee data in bulk is an efficient way to manage large numbers of Payees. This process is completed through the "Upload/Download Center" and allows for batch uploads, saving time compared to manual entry. There are two different options to upload this information.
Follow the steps for Option 1 (Uploading a Spreadsheet) or Option 2 (Uploading Vendor XML file) to complete the upload for Payees.
Option 1
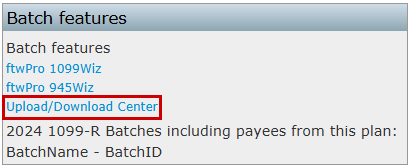
- Navigate to the Upload/Download Center located within the "Batch Features" section on the "Form 1099 - Year" screen.

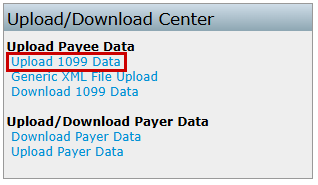
- From the available options under Upload Payee Data select Upload 1099 Data

- Select an upload method:
- There are two methods for uploading data as well as applicable sample templates:
- Payer TIN: Use this method to upload Payees based on the Payer's Taxpayer Identification Number (TIN). This is the traditional approach for most users.
- For Payer TIN, download "Sample_PayerTIN_1099R_2024.csv."
- Company EIN/Plan Number: Use this method to upload Payees when multiple plans share the same TIN. This option ensures data accuracy for individual plans.
- For EIN/Plan Number, download "Sample_EINPN_1099R_2024.csv."
- Payer TIN: Use this method to upload Payees based on the Payer's Taxpayer Identification Number (TIN). This is the traditional approach for most users.
- There are two methods for uploading data as well as applicable sample templates:
- The downloaded file serves as a template for entering Payee information:
- Enter Payee Data: Populate the spreadsheet with all necessary data for one or multiple plans, grouped by TIN or EIN/Plan Number (PN).
- Follow the Format: The "Field Names" schema file provides details on how to format the data correctly, including column headers and data requirements.
- IND Columns: Use 0 to leave checkboxes unchecked and 1 to check them.
- Additional Distributions: Up to 12 additional distributions can be included for a Payee using the columns PayDate1–PayDate12, PayAmount1–PayAmount12, and PartWHAmount1–PartWHAmount12.
- To see a sample upload file for a batch upload of all payees grouped together by the payer's TINs, click here.
Note:
- Do not delete the column headers.
- If current payees have been added, the user will be able to override existing payees. If the user does not wish to override existing payees, the user will need to un-check the box before performing the upload.

- Upload the Completed File:
- Return to the "Upload 1099 Data" section in the Upload Center.
- Browse for and select the prepared .csv file.
- Click "Submit" to upload the file.
- Review the Upload Results:
- After submission:
- The results will display the total number of Payees successfully added and highlight any "Bad Data" that requires attention.
- Verify the uploaded data in the "Edit Payees" dropdown.
- After submission:
Option 2
The Generic XML File Upload is primarily used to import data downloaded from another vendor's Software. If you are having trouble with the upload, please contact support@ftwilliam.com.
- Navigate to the "Upload/Download Center" located within the "Batch Features" section on the "Form 1099 - Year" screen.
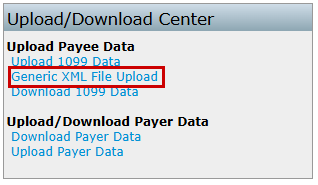
- Under the Upload Payee Data select Generic XML File Upload.

- Upload the XML File:
- Click Browse and locate the saved .xml file on the computer.
- Click Submit to upload the file.
Note: The upload will replace any data previously uploaded or manually entered.
- Review the Upload Results:
- Note that "Upload Results" will not provide detailed feedback.
- Proceed to run edit checks to ensure the uploaded data is accurate.
- Return to the 1099 Module:
- Use the breadcrumb trail to navigate back to "1099-X Year."
- After uploading, verify that all Payees appear in the "Edit Payees" dropdown.
Note: Regardless of method after uploading once uploaded, running edit checks is essential to ensure the accuracy of the uploaded data (see Edit Checking for additional information).
