 |
The Form 5330, 2848, 8821, 8822-B, 56, 8868 and 720 can be completed by clicking on the link that corresponds to the form under the "DRAFT-EDIT" column in the "Other Forms" box. The forms are completed just like any other 5500 form. Data is saved immediately after entering the data (no update buttons) and edit checks work similarly as well.
Once you are finished, click on the form link under the "FINAL" column in the "Other Forms" box. This will open a PDF file you may save to your computer and print.
The ftwilliam.com software will allow you to set up default Paid Preparers to select for use on the Forms 5330 and 720. To add default reps, click on 'Edit IRS Reps' under the 'DRAFT-EDIT' column within the "Other Forms" box. Next, click on "Add Rep" where you will enter the Rep's First and Last Name. Then, select the new rep from the list and click on "Select Rep". Those Reps who have a PTIN listed will display in the Paid Preparer's drop-down list. You may also enter the Paid Preparer manually if you do not wish to create defaults.
You can easily upload your data into the 2009-present Comprehensive PBGC Forms, instead of manually typing in your data one plan at a time. The upload feature will allow you to upload data one plan at a time (see Single Plan Upload below), or if you have multiple plans, you can upload data for multiple plans (see Multiple Plan Upload below). We strongly recommend that after you upload your data, that you go to the draft form to verify the data and run edit checks.
- Single Plan Upload:
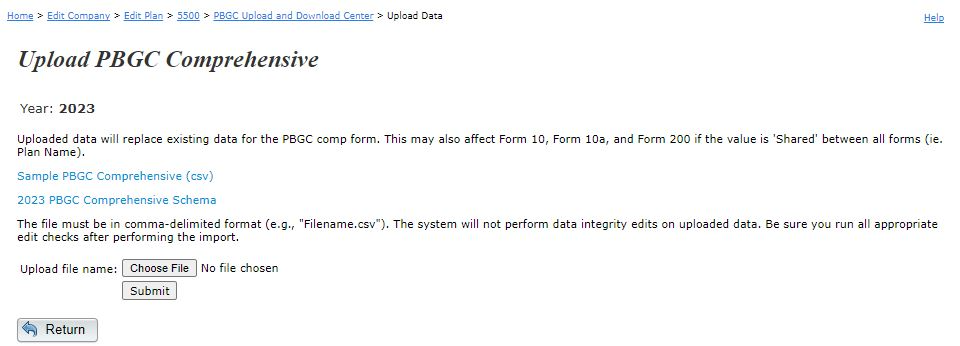
While on the 20XX 5500 Screen, click on the 'Upload/Download' link found within the "PBGC - 20XX" box. Then, click on 'Upload PBGC Comprehensive this plan only (csv)' link to find a Sample File (.csv) and Schema File (.xls) to help you get started on your upload. The Sample file contains all possible line items as column headers and is structured as a sample in the same manner as your upload file should be structured, meanwhile the Schema file lists how the data should be entered on the Sample spreadsheet for upload (serves as a key). For example, the Schema clarifies that dates should be entered as MM/DD/YYYY.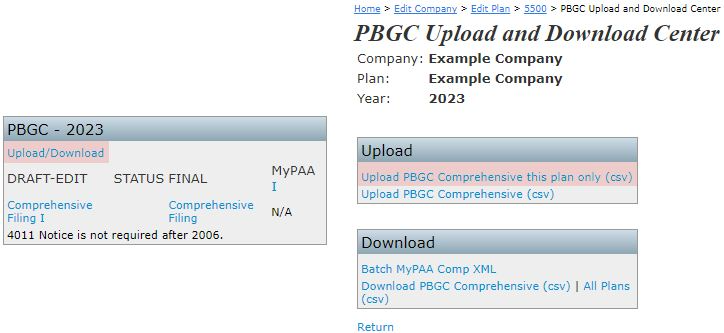
- Multiple Plan Upload:
While on the 20XX 5500 Screen, click on the 'Upload/Download' link found within the "PBGC - 20XX" box. Then, click on 'Upload PBGC Comprehensive (csv)' link to find a Sample File (.csv) and Schema File (.xls) to help you get started on your multiple plan upload. The first two rows of the Sample file contain the EIN and Plan Number columns, which must remain in the file when performing the upload for multiple plans. Just like the Single Plan Upload, the Sample file contains all possible line items as column headers and is structured as a sample in the same manner as your upload file should be structured, meanwhile the Schema file lists how the data should be entered on the Sample spreadsheet for upload (serves as a key). For example, the Schema clarifies that dates should be entered as MM/DD/YYYY.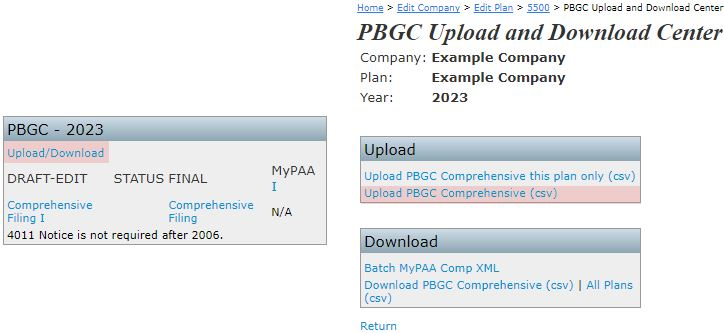
- Download Current Comprehensive Data
To download a .csv file of current data entered for a single plan or multiple plans, navigate to the 20XX 5500 Screen and click on the 'Upload/Download' link found within the "PBGC - 20XX" box. Then, click on 'Download PBGC Comprehensive (csv)' to export the data for the plan you navigated to, or 'all plans (csv)' to export data for all 20XX Comprehensive filings.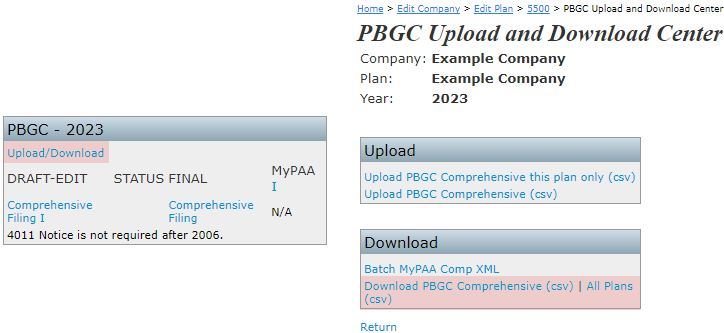


In order to perform error checking on your forms, you must click on the "???" underneath the "STATUS" column in the "PBGC - Year" box.
Once you have clicked on "???" you will be directed to a new window displaying the edit checks that your form did not pass.
You will now notice that you no longer have "???" under the status column, but instead a "NOT-OK" status indicating that you have some errors in your form.
In order to get an "OK" status, you must correct all of the errors in your form and repeat the edit checking process. Eventually you will have an "OK" status for all of your forms. It is important to make sure that you pass the editing checking because you will not get the XML file you need for the "My PAA" section of the instructions.
Once your forms have been prepared and you see an "OK" status in the "STATUS" column, it is now suitable to being printing and saving your forms. In order to generate a PDF of your forms, you must click on the form name in the "FINAL" column of the "PBGC - Year" box.
When you click the form name under the "FINAL" column, a PDF version of your form will generate on the page.
Now that you have generated your PDF, you may save a copy to your computer and/or print it for signature.
Now that you have completed the preparation of your forms, you may electronically file them using the MyPAA. In order to electronically file, you must download the XML file that is generated on the ftwilliam.com website. You will NOT see an option to download the XML file if you do not pass the edit checking. This prevents any errors being filed with PBGC.
In the "MyPAA" column of the "PBGC - Year" box, you will find that there is a link provided called XML. You must click on this link and SAVE the file to your computer.
Click the "Save" button and save the XML to your computer.
If you need assistance with the MyPAA Website, click the "I" underneath the "MYPAA" heading in the "PBGC - Year" box. By clicking this link, you will open a new window displaying the My PAA User Manual.
