Having selected the format for uploading/viewing your participant census data, you are ready to load your data.
Edit Census
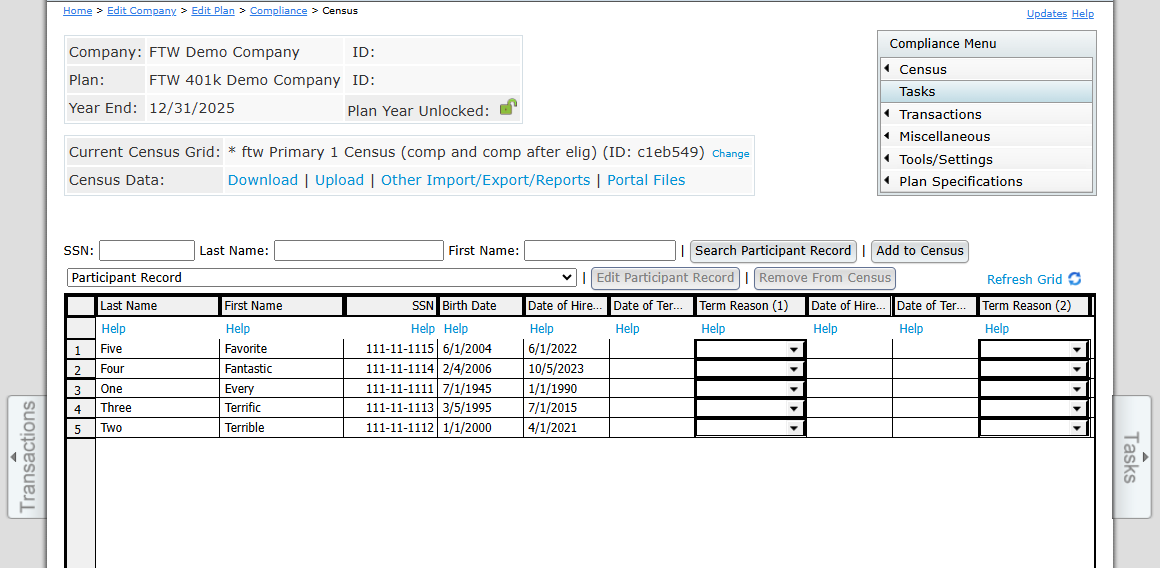
Data can be edited directly within the census grid. To update a field, simply double-click on it and enter the new information. The system automatically saves your edits. To add a participant, enter the SSN or Employee ID number in the box above the grid and click on "Add New". You will then be able to enter remaining data (first name, last name, etc.) in the applicable fields for the new participant. Generally, however, you will want to upload data into the grid using a census upload. The system will try to ensure the formatting is within certain limits for certain fields. If you enter data with incorrect formatting you may see the error "Not Valid" and the field will not be updated. For example, if you enter a date as "1/1/01", the system will update the date to the correct formatting ("1/1/2001").
Download Census
There are two ways to access the Download option. You can press the “Download” link from the census screen or hover over Census in the Compliance Menu.


The Census Downloads pop-up box will appear with three download options:
Current Census
Generally, before uploading a census, you will need to download the blank census template so that your spreadsheet will have the correct formatting. The field names must match those on our system and be in the same order. The ID number of the selected census grid also must match the number in the first column of the third row of the spreadsheet (cell A3) that will appear in the downloaded file. This means that if you add, remove, or move a column from the selected data entry grid you generally must download a new Excel file for your census. In addition, in order for the file to be re-uploaded into the system, it must be saved in .csv format.
Another use for downloading the current census would be to review any changes made after the Scrub/Eligibility task is run, changes entered via the portal, or if the "Edit Census" link was used. Items in the census may be updated by the system (during a data scrub - you will be shown errors if a census item is updated) or by the user. You can download the latest version of the census by clicking on "Download Census>Current".
Download Prior Census
Clicking on the "Prior" link will generate a copy of the prior year's census. Depending on the Global Report Options, the "Prior" option may include employees who were listed with a termination date on the prior year's census.
Last File Uploaded
The system saves the most recent census uploaded. Even if changes are made to the census on the system (via a data scrub or user entry), you can download a copy of the census as it was last uploaded.
Upload Census
When initially adding census data to the software it is generally easier to upload it via .csv file. It is a best practice to download the grid to Microsoft Excel .csv format, enter your data on the file, then upload the spreadsheet.
Prior to uploading the census, it is highly recommended that the data you receive from your client is reviewed for completeness and accuracy. For example, if the census has both statutory compensation and statutory from plan entry compensation, both fields must be completed for all participants.
To upload the census click the “Upload” link, select the file to upload, then press “Upload”.

Upon uploading the census, the Upload Results screen popup will:
- Show the total number of records to be added
- If applicable, will list any invalid or duplicated SSNs or Employee IDs
Reset entry dates
If this is the first plan year on the FT William system, you will have the option to have the system clear out all of the status fields that the system calculated after the census was previously uploaded and the data scrub was run. This is a handy tool to use if invalid data, such as an incorrect termination date or hire date was previously uploaded.

Retain prior year codes
Subsequent to the first plan year on the system, users have the option to either copy the following status fields from the prior year or upload from the census upload file:
- Ownership percentage
- Family code
- Family relationship
- Officer status
- New comparability group number
- Employee class
- Employee class other
Note: The system defaults to “Yes” to have the prior year data pulled instead of the census data. If “Yes” is selected, data for the seven fields from the prior year will overwrite data for those seven fields even if that data is in the current census being uploaded. To have the system use the data in the census, simply set the override to “No”.

Upload file name
Click the browse button to search your computer for the census file you wish to upload. Please note that the census file must have been saved as a .csv file. Also note that the format must match the format in the grid selected from the Work with Data Entry Grids screen.
Number of rows to ignore
The number of rows to ignore defaults to 5 indicating that the participant data starts on Row 6; if you have made any changes to the first five rows of the spreadsheet, you need to adjust this number accordingly. Please note that the census template ID number in the third row must not be removed or changed. This number tells our system what data will be in each column.
Submitting the file and reviewing results
After clicking "Upload", the "Upload Results" pop-up window will appear. If your upload was successful, the system will display the number of records added. If your upload was not successful, you will see an error message. The most common error involves not having the correct census ID number in cell A3 of the spreadsheet (see the section "Download Census" above for more information).
For some fields only certain entries will be valid. These fields appear as drop-down boxes in data entry grids on the system. Upon upload, the system will try to match the text in a particular field to the correct field value. For example: the field "Officer" has two possible values: "Yes" or "No". If you upload a census with "yes" (all lower case) or even simply "y", the system should identify that the value of that field is "Yes". Of course, if there are multiple values that begin with the same letter, you will have to enter more of the beginning letters of the field to have the system recognize the correct value.
You can effectively start over for a plan year by uploading a new census. This will clear out all the "R" (regular) field types on the system for the applicable plan year end. Master file data will not be cleared by uploading a new census unless you are directly uploading master file information (i.e. participant’s address or earliest date of hire).
