Note: A subscription to both the Compliance Software and Portal is needed to use the batch features. Specify a Server will need to be set up within the Compliance tab of the global email settings to send a communication to portal users.
To access the census batch screen, select the Wolters Kluwer Logo > Batches > Census Worksheet.
Before creating a current year census batch, it is recommended to roll forward Compliance Portal Users from the previous year. Please review ‘How to Roll Forward Compliance Users’ for steps on completing this process.
To create a new census batch, select the ‘Create Batch’ button above the grid and enter a batch name:

Once the batch is created, a new screen will populate with Batch Options.
Batch Options:

- Select a Batch: This button will return users to the main census batch screen to select a batch. Batches display in alphabetical order.
- Edit Name: Select the pencil next to the batch name to make alterations.
- + Add Plans: Select the plans to add to the batch. Plans that have already uploaded a census in the Compliance Portal (either through another batch or at the plan level) will not appear in the 'Add Plans' screen. Any plan year may be included (e.g., 2021, 2022, 2023) in the same batch. +Add Plans screen includes the following filters for easy searching (hit the enter key on your keyboard for the filter to be retained).
- Plan Name/ Plan ID
- Company Name/ Company ID
- EIN
- Year End (*Search for plans by Year End using the following formats: by MM/DD, MM/DD/YYYY,MM-DD, MM-DD-YYYY, YYYY-MM-DD, YYYY/MM/DD, and YYYY. Note: The year must be entered as YYYY, not YY.)
- Checklist Type
- Checklist Version
- Administrator (listed on the Edit Plan screen for the Compliance Module)
- Multiple filters may be used at the same time.
- After entering filters and selecting the plans to add, click on the Add Selected Plans button in the lower left-hand corner.
- The add plans grid is exportable both in the full and filtered view by selecting the Export CSV button in the bottom right-hand corner.
- Only plans that are unlocked in the compliance module will populate in the Add Plans window.

- Default Worksheet: There are 3 options for sending the census to the Portal:
- Upload File: Upload a custom census that is not generated by ftwilliam.com.
- Load Prior Year Census: This radio dial selection will load the prior year census for the listed plans, it will contain census data and participants from a prior year.*Please note: if the prior year census grid selection is different than the current year grid selection in compliance, the software will enter the applicable data into the new grid format.
- Load Current Year Census: This radio dial selection will load the current year census for the listed plans, this will be a blank census (or will contain any data entered into the compliance module census for the current year) and will match the census grid selection in the Compliance for the current year.
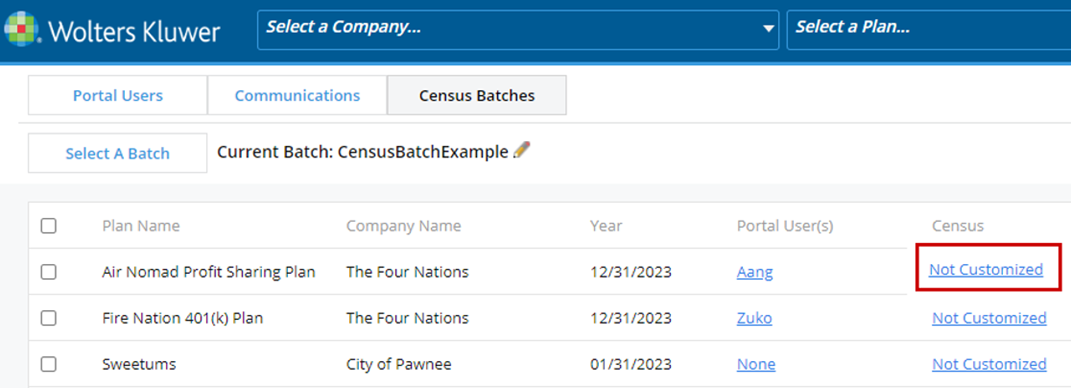
*Note: Customized Option: in addition to selecting one of the options outlined above, users may also add custom census to specific plans.
- Select the ‘Not Customized’ link in the grid.
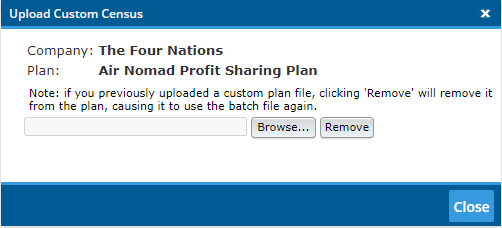
- A pop-up window with the Company and Plan Name selected will populate.
- Select the ‘Browse’ button and add the unique custom census template.
- The name of the file will populate in the blank box to the left once the upload is complete.
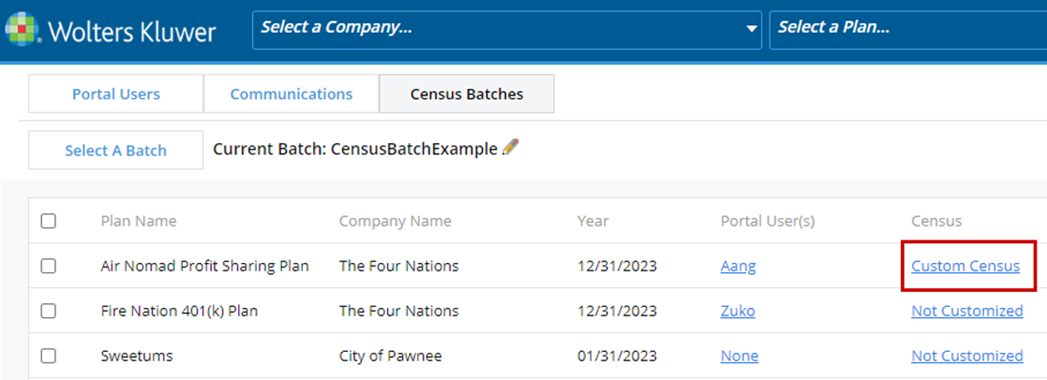
- Select the ‘Close’ button and the grid will then show with ‘Customized’ for that plan listing.
- Delivery Options: There are 3 options for delivering the census to portal users
- Download only: Allows the portal user to download the census but is unable to make changes within the portal screen or re-import the information. This is often used for review purposes only. *Not a commonly used feature.
- Download and Upload CSV: Allows the portal user to download the census to make alterations and then provides an import option to send respond with the updated census. *This will create two separate To-Do list tasks (Download and Upload.)
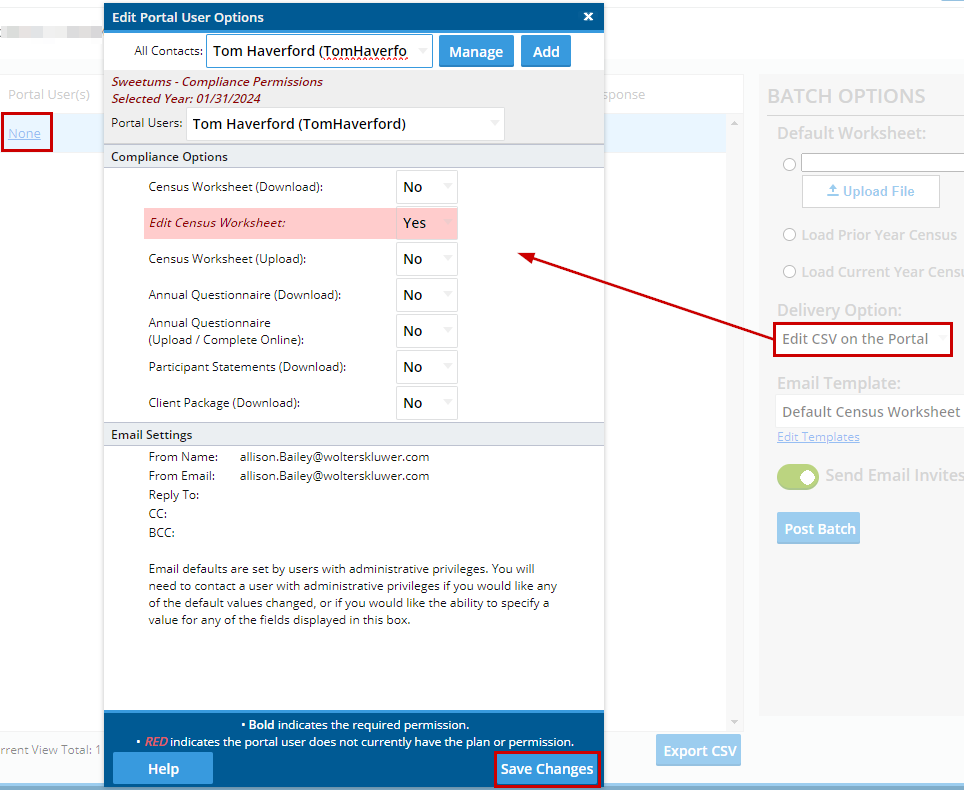
- Edit CSV on the Portal: This allows the portal user to alter the census directly in the Portal screen.
- Selecting this link will open the ‘Edit Portal User Options’ window.
- Select a user from the ‘All Contacts’ drop down.
- The user will be added to the year specified in the batch with the permissions defined by the Delivery Options for the batch.
- Ensure the ‘Save Changes’ button is selected.
-
Email Template: Here the template sent to the portal user may be viewed/edited or a new template may be selected. This template will automatically default to the selected template in the Global E-mail Settings> Compliance Tab> Census Worksheet Default.
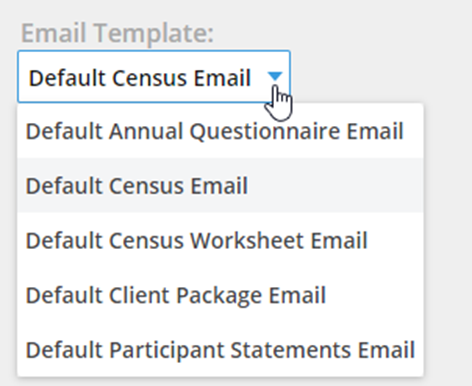
- To select a pre-existing e-mail template, select the drop-down menu. This menu will populate with all of the available compliance default e-mail options:
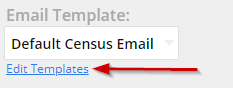
- To alter, edit, or create a new template for this batch, select the Edit Templates Link directly below the ‘Email Template’ drop-down.
- This will open the ‘Email Template Editor’ for the Compliance module to add or edit templates. For additional guidance on this feature please review the article entitled: 'How to Edit Or Clone Default E-mail Templates.'
- Post Batch: Selecting this button will post the Census Worksheet to the User Portal. If the ‘Send Email Invites’ toggle is green, an invitation (using the Email Template selected for the batch) will also be sent to the Portal Users associated with the plan.
- Do with Selected: Based on the status of the batch, the ‘Do with Selected’ options will vary as described below:
- Prior to posting a batch, the ‘Do with Selected’ option allows a user to select all or individual plans and remove them from the batch.
- After posting a batch, the ‘Do with Selected’ option allows a user to:
- Remove Plan(s)- when a batch has been posted and s removed from the batch a confirmation window will populate alerting that the census posted to the users portal, as well as posted in the compliance module will be removed. However, responses from the portal user will remain unaffected and will still be both in the compliance module and associated with this plan if added to another batch unless manually removed.
- Send E-mail Invites- allows users to select specific plans to send initial invites to, or re-invite to complete the census without sending invitations to the entire batch of plans.
- Download Posted Census- selecting this option will export the census that was posted to the user portal in bulk. These are downloaded into a zip file with the following naming convention: ‘NameOfBatch Posted Census’.
- Download Census Responses- selecting this option will export the census responses from portal users. These are downloaded into a zip file with the following naming convention: ‘NameOfBatch Census Received’.
- Export CSV: The export CSV option from below the grid will export all the data within the census batch grid into an editable .csv file.
Things to note when adding plans:


*Note: Portal users will automatically be updated with the delivery option permissions set by the batch. The batch delivery options will only add permissions, it will not alter other existing permissions. For example, if prior to a batch the user has permissions to upload and download the census only, and the batch allows them to edit the CSV on the portal, once the batch is posted, this user will have permissions to Upload/Download and complete in portal.
When plans have been added, if a Portal User is not assigned to a plan, they may be added by selecting the ‘None’ link under the Portal User(s) column on the grid. (A Portal User must be listed in the Portal User column in order to post the batch. If None is displayed, a warning will populate to correct prior to posting.)


